Distributions View  
HOWTO video on Distributions View
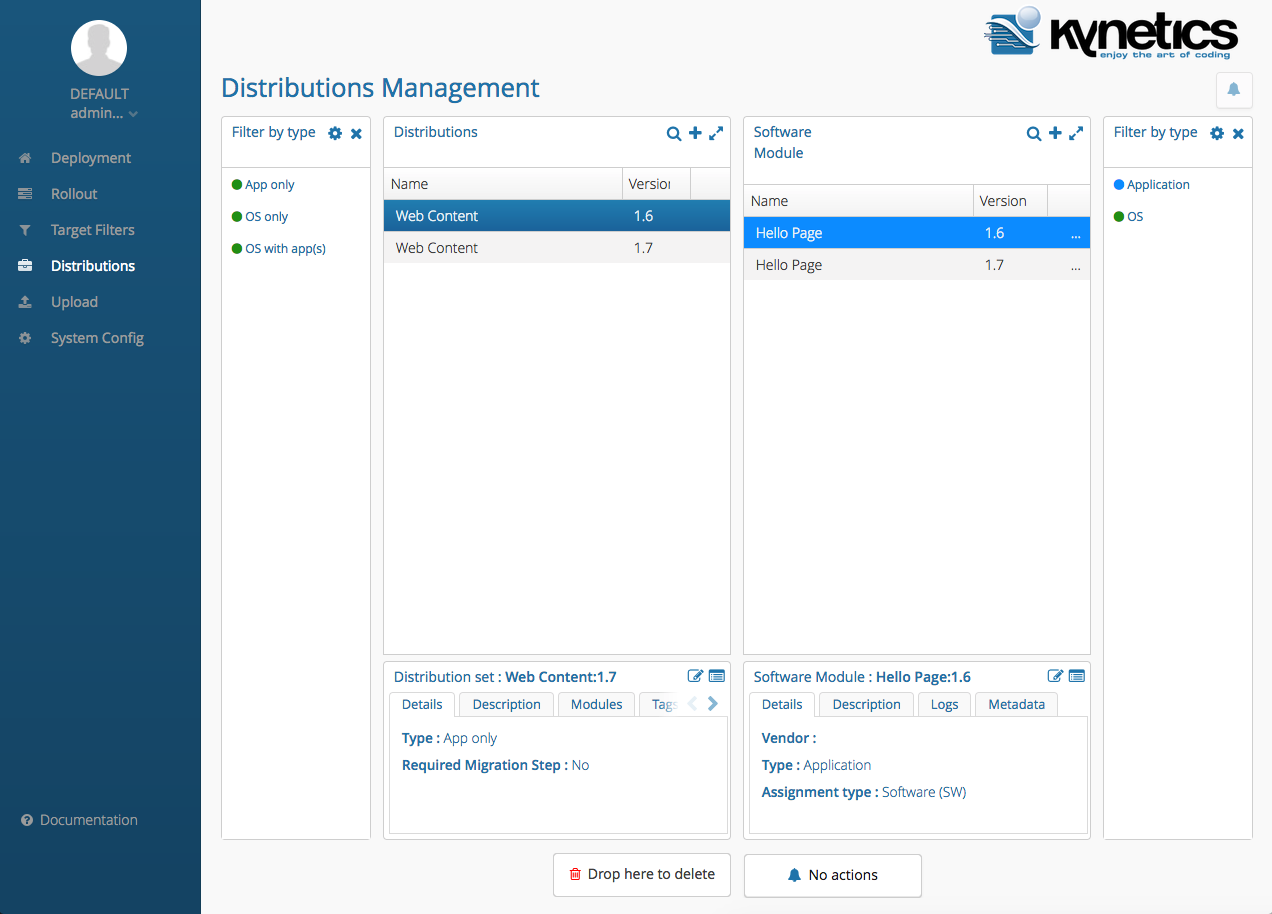
Figure 1
In Distributions View a user can associate one or more Software Module(s) to a Distribution. Distributions can be applied to one or more Target Devices in the Deployment or Rollout Views. The following describes the purpose of the different containers and their icons.
- Filter by type: App only, OS only, OS with app(s).
- Distributions: Create and update parameters of Distributions of one or more Software Modules.
- Software Module: As in the Upload View, the Software Module(s) can also be created and updated in the Distributions View.
- Filter by type: Displays each software update event. There are five fields of data: Active, Distributionset, Date and Time, Status, Forced and Actions.
Filter by type
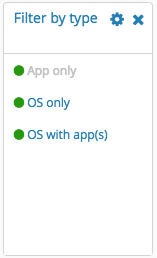
Figure 2
If a filter has greyed out, this means that the particular filter has been enabled/selected.
Create/Update Type

Clicking the Gear icon will allow the user to either create a new, or update a current filter type.
Close

Clicking the close icon will close the container.
Open

To open the Filters container again, click the filter icon in the Distributions container.
Distributions
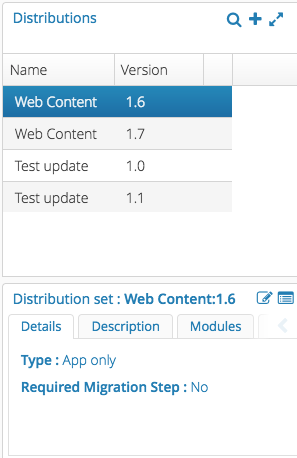
Figure 3
Search
![]()
Clicking the Search icon will enable the user to query by any string inside of the container.
Add (Plus icon)
![]()
By clicking the Plus icon, the user can configure a new Distribution.
Expand/Shrink Container


Clicking the Expand icon will increase the size of the particular container. To go back to the small size, the user can click the Shrink icon.
Edit Selected Distribution

As in the Deployment View, Clicking the Edit icon in the lower container allows the user to make changes to the currently selected Distribution including: Type, Name, Version, Description and whether the particular Distribution is a Required Migration Step.
Edit Distribution Metadata

Clicking the Manage Metadata icon in the lower Container allows the user to make changes to Meta data regarding the currently selected Distribution.
Software Module
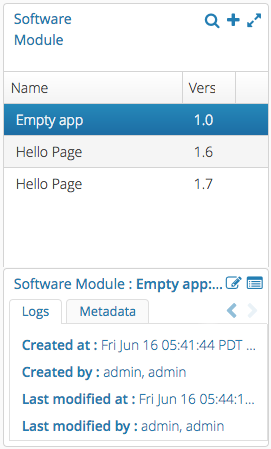
Figure 4
Search
![]()
Clicking the Search icon will enable the user to query by any string inside of the container.
Expand/Shrink Container
Clicking the Expand icon will increase the size of the particular container. To go back to the small size, the user can click the Shrink icon.
Filter by type
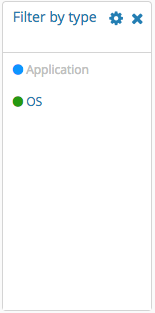
Figure 5
If a filter has greyed out, this means that the particular filter has been enabled/selected.
Create/Update Filter Type
Clicking the Gear icon will allow the user to either create a new, or update a current filter type.
Close Filter by Type Container
Clicking the close icon will close the container.
Open Filter by Type Container
To open the Filters container again, click the filter icon in the Software Module container.
Configure new Software Module
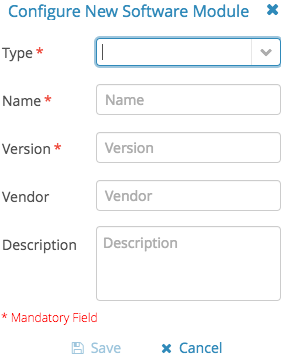
Figure 6
Add (Plus icon)
![]()
By clicking the Plus icon, the user can configure a Software Module.
The following are the fields that can be defined:
- Type: Application or OS (required)
- The Name of the update (required)
- The Version of the update (optional)
- The Vendor of the update (optional)
- A Description of the update (optional)
Edit lower container info
Clicking the Edit icon in the lower container allows the user to make changes to the currently selected Software Module including: Vendor and Description, only. All other fields cannot be changed. To add a new Software Module, use the Plus icon as noted above.
Edit metadata for Software Module
Clicking the Manage Metadata icon in the lower Container allows the user to make changes to Meta data regarding the currently selected Software Module.
Delete Software Module
To delete a Software Module, click the Trash icon of the particular Software Module. A confirmation is required.